Free Shipping On Most Orders!
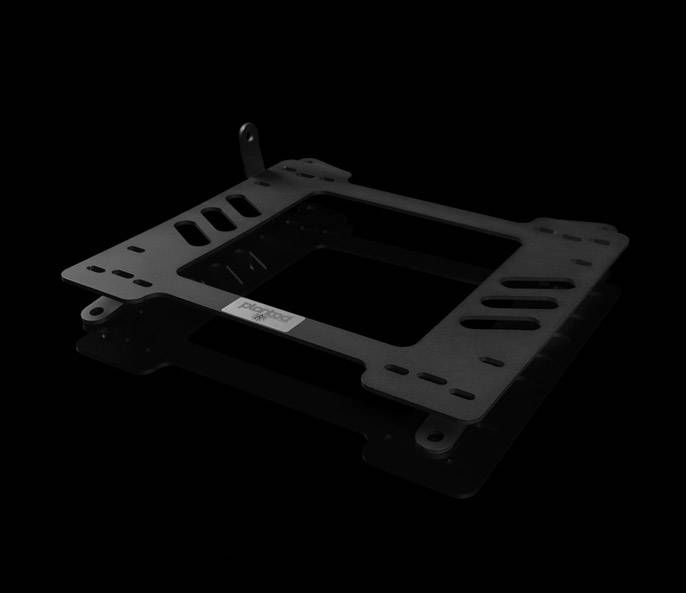
Braum Planted Seat Bracket
Install any aftermarket racing seat in your vehicle with a high strength 3/16″ steel Planted seat bracket brought to you by BRAUM is made just for your vehicle. They’re precision made and durable for an easy, reliable installation. They are finished with a black powder coat and applications are available for most cars. Price is for one seat bracket only.
No one needs to tell even the newest car owner that part fitment varies between vehicles. When it comes to designing a single part to fit in a wide variety of vehicles, some sort of customization is inevitable. Seats are no exception. Although some seats are interchangeable between different models (but the same make), in general the only factory seats that will fit in your vehicle are the ones made specifically for it. This is because the mounting locations for factory seats and the curvature of each vehicle’s floor pan differ from car to car. If you plan to install universal aftermarket seats, you will need a seat bracket for your specific application in order to make them compatible with your vehicle. Our seat brackets are made of high strength steel flat bars, welded together and drilled with precision, and powdercoated for corrosion resistance, longevity, and aesthetic appeal. The result is a sturdy foundation that you can rely on to hold your seat firmly to your floor for years to come. All this for a price that won’t break the bank.
Choose 1 Bracket for Driver or Passenger or BOTH for an addition $140.00
INSTALLATION GUIDE:
Installing aftermarket racing seats in your vehicle can be one of the most rewarding modifications you can do to your vehicle. The process is simple and straightforward, and the results are both pleasing and prominent. A good set of aftermarket seats will hold you snugly in place while providing a soft, compliant ride. They look great too! However, the actual process can be daunting and intimidating. Although the installation is normally not very difficult, not knowing exactly what to expect can nerve-wrecking for even the most mechanically-inclined enthusiast. Thankfully, we’ve made a guide to help you through this process.
What You’ll Need:
BRAC-DLSL
BRAUM Racing Seat Bracket
Seat Brackets:
in addition to your aftermarket seats, you will seat brackets made specifically for your car. If you’re installing two seats make sure you have one driver’s side bracket and one passenger’s side bracket. They are usually not interchangeable!
Sliders (optional): unlike seat brackets, sliders are technically optional. If you don’t mind losing the ability to slide the seat forwards and backwards you can omit them. However, keep in mind that the position you install your seats in will be permanent, so make sure you’re at a comfortable distance from the pedals and steering wheel before tightening any bolts.
Side Mount Brackets (for side-mount seats only): for side mount seats you will need side-mount brackets. You can determine whether or not your seats are side mount by locating the mounting holes for the bracket. Are they on the sides of the seat, on the outsides of your thighs? If so, you have side mount seats. Are the holes on the bottom or underside of the seat? If so, you have bottom mount seats.
Installation Hardware: the necessary nuts and bolts you’ll need to install your seats probably came with your seats, but you should double-check. At minimum you’ll need 4 bolts for the seat bracket, 4 nuts and 4 bolts for the sliders (if applicable), and another 4 nuts and 4 bolts for the side mount brackets (if applicable).
Socket and Ratchet Set: obviously you won’t be able to install your seats without the proper tools. For the majority of cars all that you’ll need is a few sockets, an extension, and a ratchet. For Japanese cars, the size sockets you’ll need are 14mm and/or 17mm. Double check to make sure which ones you’ll need.
Flathead Screwdrivers: although not always necessary, an assortment of flathead screwdrivers can come in handy. You might need to pry some plastic covers off to access your seats’ bolts. Flathead screwdrivers do an adequate job of this and are common, making them ideal for this task.
If you have everything above handy, you’re ready to install your seats! The steps listed below cover the process for installing one aftermarket seat, but the process is the same for both sides. After you finish one side just repeat the same process for the other side.
1) Assemble Your New Seats (Bottom Mount):
The first thing you should do is attach your seat brackets and (if applicable) sliders to your new aftermarket seats.
1) Assemble Your New Seats (Side Mount):
The first thing you should do is attach your seat brackets, side mounts, and (if applicable) sliders to your new aftermarket seats.
2) Remove the Factory Seat:
3) Install Your New Seat:
4) Enjoy!
You’re finished! Sit back and appreciate your hard work!
You must login to post a review.
Write the First Review!